Wednesday, June 16, 2010

Fabulous Friends Wednesday - Fawnda from Fireflies and Jellybeans!!!!

Hey everyone!  Welcome to another FABULOUS FRIENDS WEDNESDAY!  I am thrilled to welcome Fawnda from Fireflies and Jellybeans as our guest today.  Honestly, I'm a little star struck, I've been following  their blog since we first started even browsing craft blogs.  These ladies are so creative and fun!  I love their Iron Crafter challenges, and maybe might even enter??? We'll see.  Thanks so much Fawnda, for sharing your talents with us today!


Hello Craft Envy Readers! ! I am so excited to be guest posting here today!
Let me introduce myself!
I am Fawnda from Fireflies and Jellybeans a little DIY blog that I co-author with my best friend Jeannine.
I am a mom to a 2 year old son (who we adopted from Korea about 1.5 years ago!) and a wife to an amazing man! I love all things crafty!
We have all kinds of fun stuff going one at Fireflies and Jellybeans! We have a Show Off Your Stuff Party every Thursday where you can link up your posts that you want to show off!

We also have the Iron Crafter Competition, were crafters compete to make projects with a secret ingredient!


Today I have a great project for you! ! It is summer and that means the beach! SO, I am going to show you how to turn this Shower Curtain into....


...this beach bag!
Here is what you will need:
Shower Curtain
Coordinating fabric (12''X16'') for the pocket
Sewing machine w/sewing accessories (thread, scissors... etc...)
Make sure your shower curtain has the top that has the holes for the rings!
1. Make a pattern for you bag. Use a scrap piece of fabric or a big piece of paper to make your pattern. I wanted my bag to have a rounded bottom so I folded my fabric in half and cut out what I wanted half the bag to look like.

This is what it looks like unfolded. It is 26 inches wide and 20 inches tall. You can make yours as big as you want it!
2.) Fold your shower curtain in half with the ring holes on the top and place your pattern on top of it. (You need 2 pieces of the patten for the 2 sides of the bag.)
Pin your pattern to the shower curtain.
Cut out the pattern pieces. I cut mine out at the same time (that is why I folded it in half)

3.) You should have PLENTY of fabric left for your straps! Cut out two rectangles that are 36" X 3"
For the pocket you can use coordinating fabric like I did or you could use the left over shower curtain too!
Cut out a rectangle that is 12" X 16"
4.) Now we are going to iron! Iron the ends and the sides of your straps to the wrong side of the fabric.
then fold in half and iron... now you should have all finished edges!
Fold the pocket in half so that you have a 12" X 8" rectangle with RIGHT sides together.
5.) Now, we are going to sew the straps! Sew along the open side of the strap to finish it off! put the straps aside for a little bit.
6. Now we are going to sew the pocket! Sew the 3 open sides of the pock leaving a 3-4 inch opening to flip it right side out.
Flip the right side out and iron the edges and fold the opening inside... we will sew that part closed when we sew it onto the bag.
Pin your pocket on your bag where you want it to be placed.
Top sew around the three sides of the pockets leaving the top open.
6. Now we are going to sew the bag together! Pin the pieces RIGHT sides together and sew around the edge with a 1/2" seam allowance
Use a zig-zag stitch to help it not fray as much or if you are lucky enough to have a surger use that! :)
Flip your bag right side out! Almost done! : )
7.) Here is one of the coolest parts of the bag! Attaching the straps!
Thread the strap through one of the ring holes and tie a knot to keep it in place. Repeat on the other side! HOW COOL IS THAT! I love it!
All done!
Fill it with towels and sand toys and anything you would need at the beach!
Here is what else is cool about it... You can use the ring holes to attach other things like your keys (with a carabiner clip) or your sunglasses. You could use a ribbon to tie things to it too!

Please stop by Fireflies and Jellybeans, we love to make new friends!
Thanks Nicholette and Vanessa for letting me invade your blog today, it was so FUN!

Read more

Monday, June 14, 2010

Thanks for Sharing!

Hey guys, what a fabulous weekend we had!  A giveaway winner, and amazing projects that were submitted.  I love going through all the links, you truly are inspiring!  Here are a few that really caught my eye:


Ellen calls it a Memory Pillow.  It was made out of her Father's shirt.  He passed away recently, and she found this wonderful way of making a memory of him.  I love this so much!


Isn't this the coolest thing ever???  Find this cute printable at Cute as a Fox.  I will be using this for sure.  We love Mario!

Backpacks 1
Those cute little backpacks are actually hooded beach towels!  Yup.  It's brilliant.  Find the tutorial here

.
If you need some fun ideas of rainy day fun and crafts, check this out!  Here in Utah, unfortunately, the weather is not cooperating.  We'll be doing lots of fun indoor things now!

Thanks to all of you for sharing your talents, I love it soooo much!  Please come back next week, and if you've been featured, don't forget to grab a button!

Enjoy your Monday! ;)


post signature Read more

Saturday, June 12, 2010

Saturday Spotlight #8 and CSN Winner...

Thanks for joining us for another Saturday Spotlight, we're excited to see all of your beautiful projects! But first, we have a winner to announce for our CSN giveaway...
and it is....

 Cheryl F. 

Thanks so much to all of you who participated in the giveaway and congrats to Cheryl! 


1) First, create a blog entry about something you made yourself.  Post our Saturday Spotlight button under your post or somewhere on your blog so that others can find all of your awesome links at Saturday Spotlight. Our linky party button is on the right side of our blog. Just copy the html code to the bottom of your blog post. If you would like to keep it somewhere else on your blog where others can see it, that's also ok.
2) Next, add your blog post name down below and then add the link of the blog entry about your project  (not your homepage) . To get your link,  click on the title of your blog post that you would like to enter and then copy the address that appears in the address bar  up top, and paste it down below. It should look about like this:    http://yourblogname.blogspot.com/2009/07/your_project.html.

3) Have fun checking out all the awesome projects!


post signature Read more

Friday, June 11, 2010

Crochet flowers everywhere!

Good Morning everyone!  It's Vanessa today, first of all, reminding you that today is the LAST DAY for you to enter our CSN.com $40 gift certificate GIVEAWAY!   Tomorrow morning Nicholette will be announcing the winner, so you'll want to stop by! Good luck to everyone who has entered, and if you haven't yet, get to it!

Now, I'm so excited to share with you what I've been working on for the last 3 weeks.
Aren't these cute?  I crocheted my little heart out on these!  


Here's a close up of my flowers.  They are hard little flowers to make, but I have conquered them! :) What did I do with my project?


Welcome to my kitchen!  I really wanted something over my sliding doors, now they match!  Cute.  I should have made a longer runner for my table... sigh.  Next time, maybe.


There you have it.  Now I'm ready to join the craft world again.  I have a ton of ideas I am dying to work on as soon as I finished this project, so look forward to some fun stuff in the next few weeks.  I can't wait!

post signature
Read more

Wednesday, June 9, 2010

Singed Flowers

I have been dying to make these since I first saw the instructions at Mrs. Priss! So this is my version of how to do it! I made mine from an old polyester shirt that had a broken zipper. Yea for recycling, reusing, and re-purposing!


 What you will need: 
-Lightweight polyester-type fabric
-Pearls
-matches
-scissors
-needle and thread 

(I had all of these things on had, so for me, this craft was FREE!)


1. The first step is going to be to cut out several circles of varying sizes. They don't have to be perfect, in fact, I think it makes the fabric look more like flowers if they're a little less circle-like:)

2. Carefully burn the edges of the fabric just enough to singe the edges and slightly curl the edges.


3. Next, layer the fabric pieces from largest to smallest and sew together with the embellishments in the center.


You can either attach a hair clip to your flowers or a head band. (I made this headband with the fabric from the edge of the shirt and some elastic).

THERE YOU HAVE IT!


post signature Read more

Fabulous Friends Wednesday - Tania from Super QT on the Hill!

Hello friends, and welcome to another FABULOUS FRIENDS WEDNESDAY!  Today we are thrilled to welcome Tania from Super QT on the Hill!  I've had the pleasure of meeting Tania in person, and not only is she talented, she is a blast!  Tania, we have to hang out soon, and craft! :)


Hello  QT nv-crafters! I'm so exited to be guest posting in Fabulous Friends Wednesdays!
Let me introduce myself.
I'm Tania from Super QT on the Hill, I'm feel so honored to be here today. I'm a mom of two awesome boys, 5 years and 9 months, who are my pride, joy and inspiration. I got married in 2003, to a handsome 6' 5'' tall, blond men, who is my best friend and supports me in all my daily challenges.
 I have a little web store named The Super QT Store, where you can find all the QT's and trendy items for babies.
 I love crafting in all ways! And sharing it to the world in my blog.
You  can find  many things, like these great how to and tutorials:
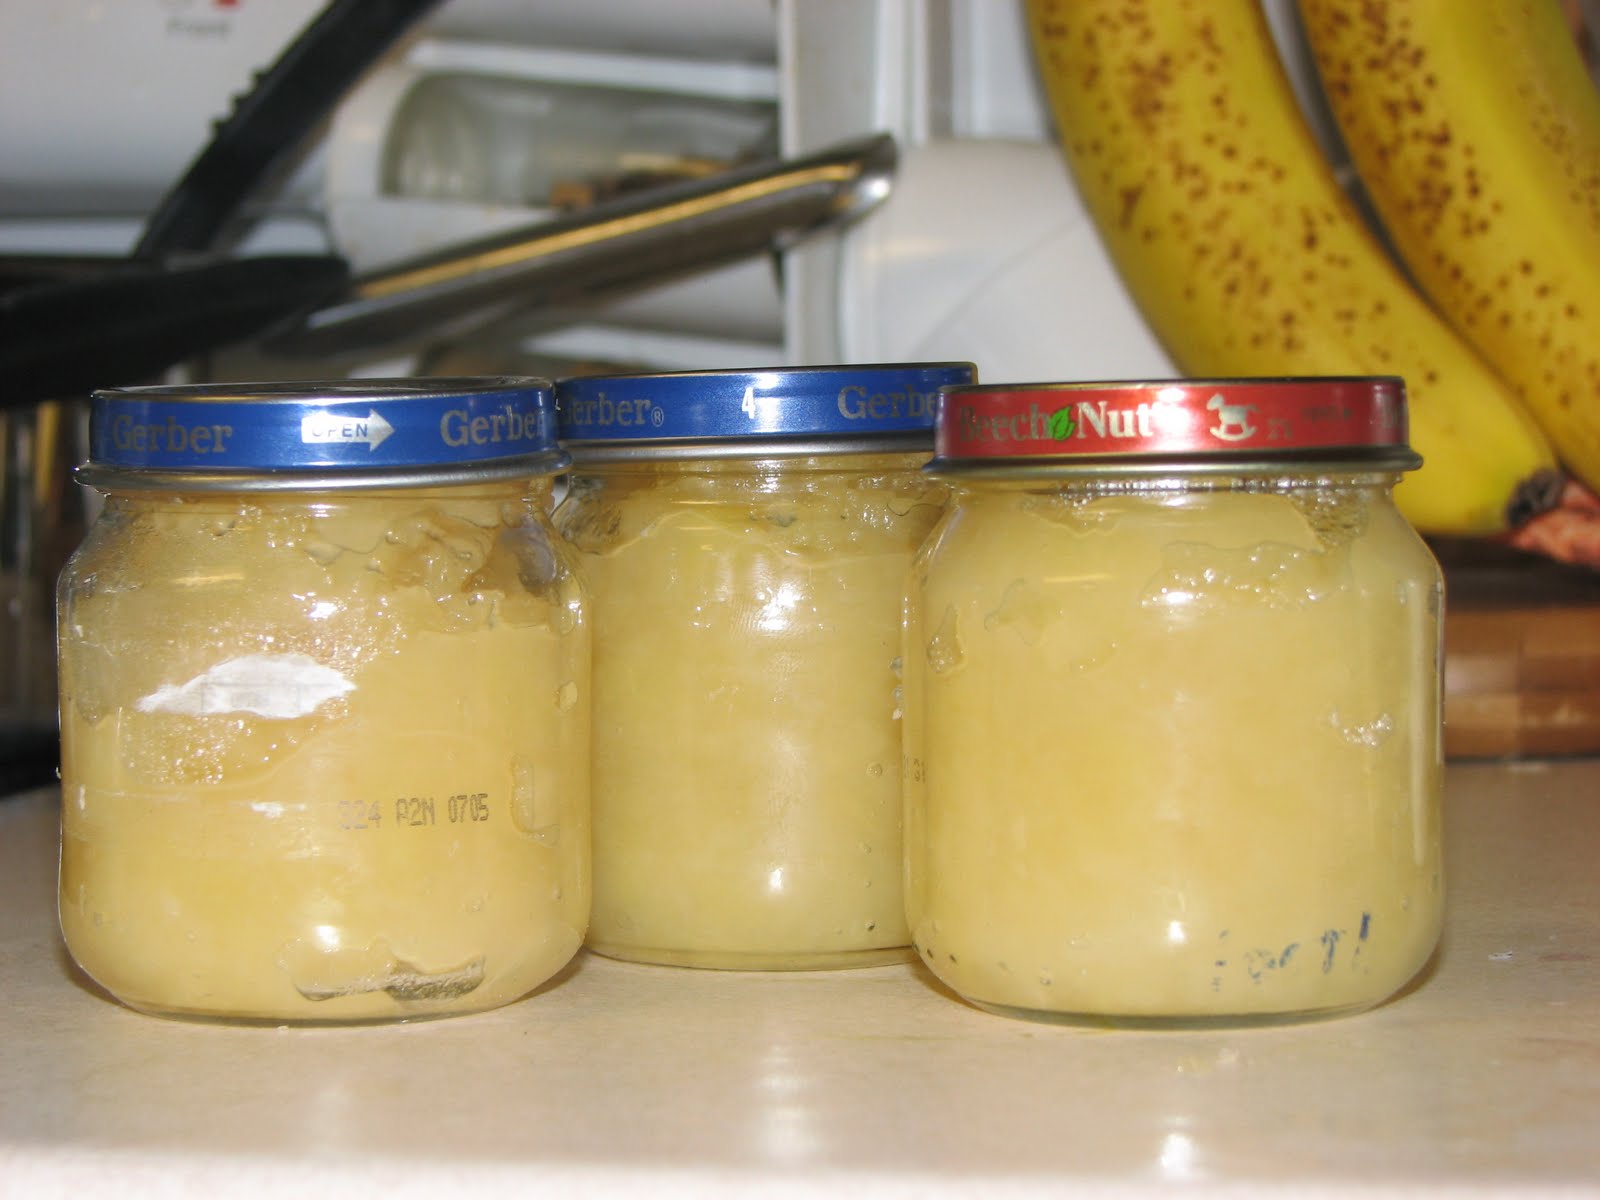
How to make your own baby food.
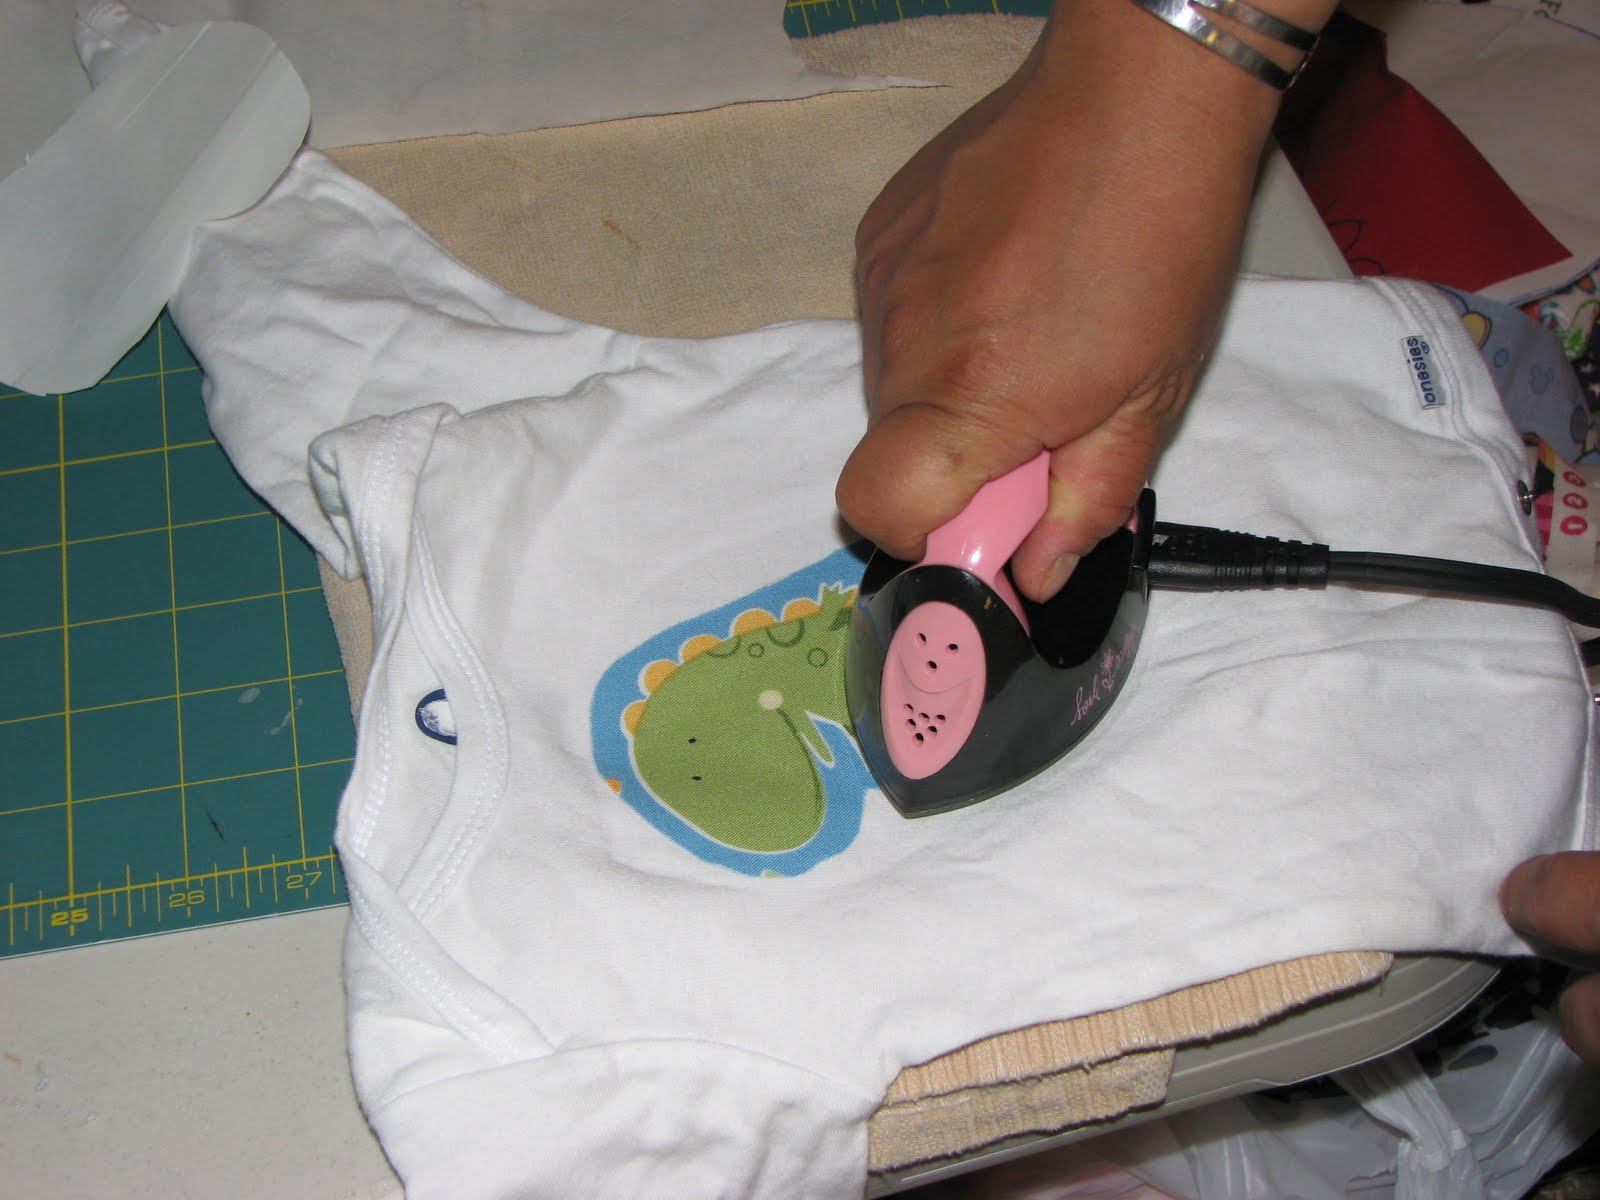
E-Z Iron on Applique.
Scrappy/Quilt Pens
Today I'm sharing how to embellish a simple stretch t-shirt with QT trims of your choice.
You will need a stretch knit T-shirt, (Down East/Shade type).
I use a larger size than my regular size, so when I sew the trims don't puck and when wash it. don't move the design.
2 - 4 yd. of trimmings of your choice, like lace, ribbons, tulle, etc.
1.5 yd of  cut away stabilizer, Sulky brand. 
Iron.
General sewing supplies.

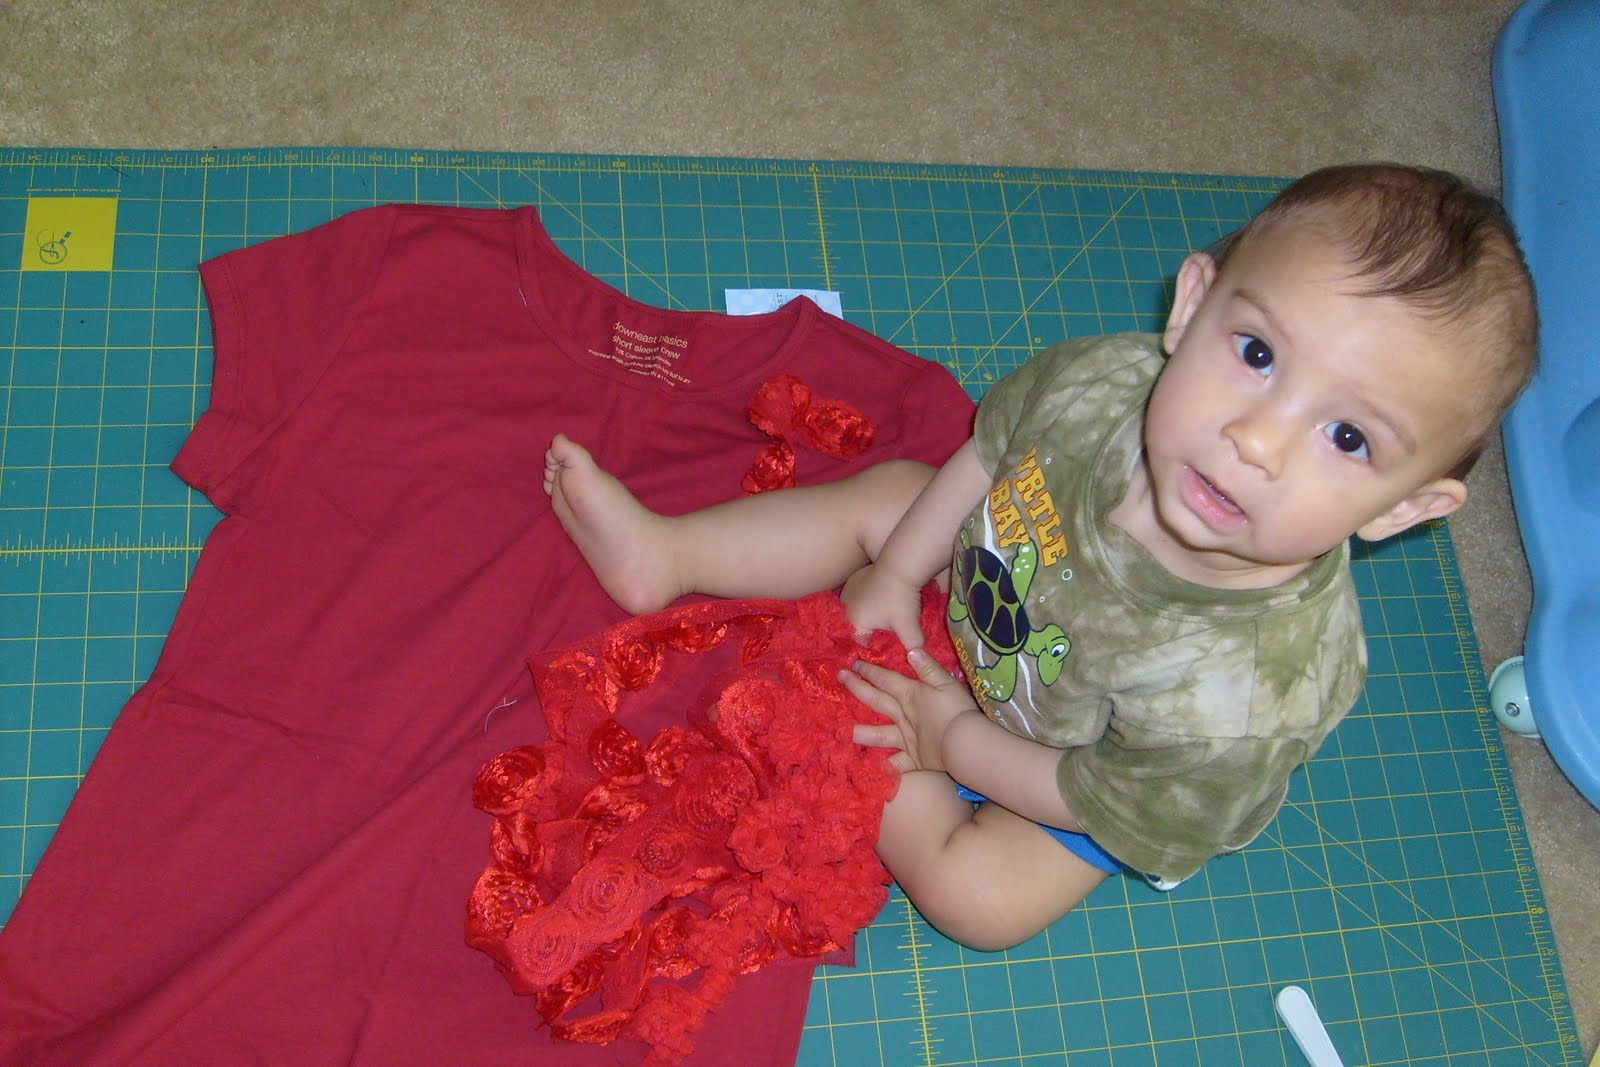
0.- Let your kids play with the material, lol.
1.- Set the iron in the lowest setting, Iron on the stabilizer in the back of the t-shirt, in place where you want your design.

3.-In the right side of the t-shirt, pin the trimming in the place you want them.
4.- Sew the trimmings with matching thread.
5.- Once you sew all the trimmings you want, cut away the stabilizer, just leaving a little bit extra, next to the stitches.
ENJOY!!!
And wear it of course.
I wanted for so long make one of these t-shirts, I make it for less than $15.00 and just looks the same  if you bought it  in a store.
If you have a chance swing by my blog, I would like you to be my follower!
Thanks to Vanessa and Nicholette for having me.
 Tania
Read more

LinkWithin

Related Posts with Thumbnails